


How to Build an AI-Powered App
Learn how to build an AI-powered app using the right tools, frameworks, and models to create smart, scalable, and efficient mobile or web applications.
Artificial intelligence trends are no longer just a buzzword. It's a foundational tool shaping how digital products are built and how users engage with services. If you’re looking to build an app that stands out in a crowded market, integrating AI thoughtfully can help deliver smarter, faster, and more personalized experiences.
Step 1: Define the Purpose and Scope
Before you write a single line of code or call any APIs, you need to be clear on what problem your app solves and how AI fits into the solution.
Ask yourself:
-
Who are the users?
-
What specific value will AI add?
-
Which platform are you building for (iOS, Android, or Web)?
Examples:
-
A language app using NLP to correct grammar.
-
A fitness tracker that predicts optimal workout plans using ML.
-
An e-commerce app personalizes product recommendations.
Clarity here drives the rest of the development process.
Step 2: Identify the Type of AI Required
AI is not one-size-fits-all. Different applications require different types of intelligence.
|
AI Type |
Common Uses |
|
Machine Learning |
Recommendation engines, predictions |
|
Natural Language Processing (NLP) |
Chatbots, sentiment analysis |
|
Computer Vision |
Image recognition, object detection |
|
Generative AI |
Text, image, or music generation |
|
Speech Recognition |
Voice assistants, transcription |
If your goal is rapid development, consider starting with API-based AI services. For more control and customization, custom-trained models might be a better option.
Step 3: Gather and Prepare Data
If you’re training your models, data is the backbone. You need quality data that reflects your use case.
Sources:
-
Public datasets (UCI Machine Learning Repository)
-
User-generated data
-
Proprietary company data
Steps:
-
Collect data.
-
Clean and normalize.
-
Label (for supervised learning).
-
Split into training, validation, and test sets.
If you’re using pre-trained models or APIs, this step is less intensive, but it’s still important to understand what data those models were trained on and their limitations.
Step 4: Choose the Right Tech Stack
Your tech stack defines how efficiently you can build, scale, and maintain the app.
Front-End:
-
Web: React, Vue.js
-
Mobile: Swift (iOS), Kotlin (Android)
-
Cross-platform: Flutter, React Native
Back-End:
-
Node.js, Django, Flask, FastAPI
-
Cloud: AWS, Google Cloud, Azure
AI Integration:
-
APIs: OpenAI, Google AI, Hugging Face
-
Frameworks for custom models: TensorFlow, PyTorch, Scikit-learn
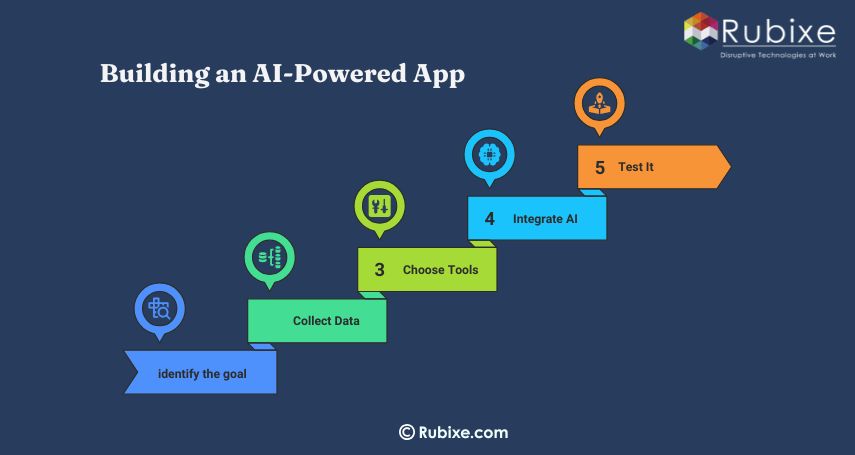
Step 5: Build or Integrate the AI Model
Option A: Use Pre-trained APIs. This is ideal for rapid prototyping or when you need industry-standard AI behavior.
Examples:
-
GPT (OpenAI) for writing assistance.
-
Dialogflow for conversational interfaces.
-
AWS Rekognition for image analysis.
Option B: Train Your Model. If you need something very specific or want more control:
-
Select an ML framework (like TensorFlow).
-
Train your model with relevant data.
-
Evaluate performance.
-
Deploy using cloud platforms or containerized environments.
Step 6: Architect the Application
A scalable architecture is essential. A typical AI app might look like this:
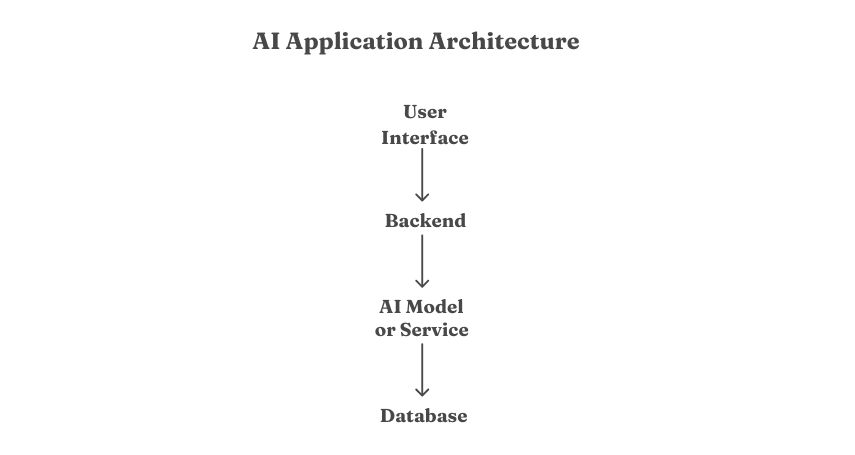
-
The frontend sends data inputs.
-
The backend processes logic and calls the AI model.
-
Results are returned and displayed to the user.
-
Data is stored securely.
Step 7: Develop the Application
At this stage, the actual coding begins.
Tasks:
-
Design the user interface using Figma or Adobe XD.
-
Build front-end components.
-
Develop the backend to handle requests and process data.
-
Integrate AI models or APIs.
-
Implement database functionality.
Security is critical, especially with AI. If you're collecting user data, ensure you’re compliant with GDPR or similar data protection regulations.
Step 8: Test the App
You need to validate both the app and the AI.
Testing Types:
-
Functional Testing: Ensure core features work.
-
AI Validation: Evaluate output quality (accuracy, speed, reliability).
-
Performance Testing: Check latency and server load handling.
-
Edge Case Testing: Handle unexpected inputs gracefully.
Real-world testing with sample users provides valuable feedback to improve usability and model relevance.
Step 9: Deploy the App
Once tested, deploy to production.
Deployment Options:
-
Mobile: Google Play Store, Apple App Store
-
Web: Vercel, Netlify, AWS Amplify
-
Backend: AWS EC2, Google Cloud Run, Heroku
-
AI Model: Host APIs or use managed services like AWS SageMaker or Google AI Platform
Monitor deployment metrics such as latency, API error rates, and user engagement to ensure stability.
Step 10: Monitor, Optimize, and Update
Post-launch is where long-term value is created. AI models need continuous tuning.
What to Track:
-
User behavior (drop-offs, engagement)
-
Model accuracy over time
-
System performance
-
Customer feedback
Optimization Areas:
-
Retrain models with updated data
-
Improve prompts for generative models
-
Update UI based on user flow
This iteration cycle ensures the app continues to deliver value and stays competitive.
Final Thoughts
AI is reshaping the future of apps, making them faster, smarter, and more user-focused. With the right approach, any business can tap into this potential to drive innovation and stay competitive.
Whether you're starting from scratch or enhancing an existing product, Rubixe offers expert, end-to-end AI services to help you build, deploy, and scale with confidence. Start with a minimal viable feature powered by AI, focus on value delivery, and scale based on real-world feedback.